The basics
Before we get our hands dirty, let's take a second to get familiar with the mental model of a monorepo.
One repo to rule them all
In a monorepo, we're building one repository that handles all of our applications. However, this doesn't mean we want to think of our monorepo as one giant chunk of code.
Workspaces are like mini-projects
Every application and package that you build will be in its own workspace. The key is to think of your workspaces as independent, small projects in your repository whose purpose is to straightforwardly share code to other parts of your repository.
In this way, you'll start thinking of your monorepo in self-contained slices that expose an API to the outside world. This should sound familiar if you're used to writing modular code. In a monorepo, we can encourage ourselves and our teammates to use the workspace boundary as a module boundary.
Tasks in a workspace should be self-contained
As we start thinking about packages this way, a great way to check if you are handling your workspaces correctly is to see if the tasks of the workspace run without reaching for code outside the workspace. Any code that is used in the workspace should come from a dependency installed in that workspace.
Using ESLint as an example
A common example I've seen of breaking this rule (where we shouldn't be) is with ESLint. An incorrect ESLint setup would place a eslintrc.json at the root of the project and run a eslint . from the root as well.
This comes with problems:
- We can't parallelize this task. ESLint is going to have to work it's way through each workspace one-by-one.
- We can't granularly cache this task since there is only one linting script happening at the root of the repository. If we change any code in the repository, we would have to run the entire lint task for the whole repository again.
- Handling the needs of different workspaces becomes difficult. The lines that you draw between your workspaces are muddied when you do this and you start leaning into yolorepo territory. We should avoid it when you can.
You'll learn how to improve your type checking scripts in the TypeScript section but let's go back to continuing to refine our mental model.
Thinking in dependency graphs
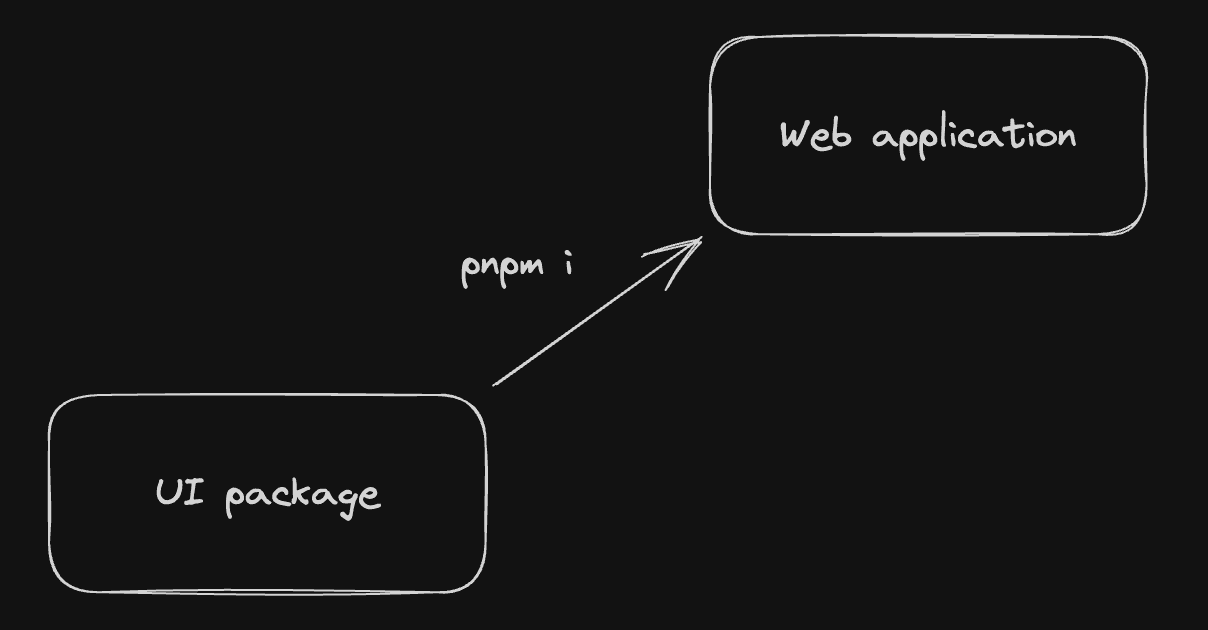
When we install one workspace into another, we've created a relationship between those workspaces from "producer" to "consumer." For example, a workspace containing a UI package produces and exposes an API surface to a "consumer" web application.

But, remember that these are Typescript applications so we do need to have some configuration to handle our TypeScript. We'll create a common TypeScript configuration that we'll install into our workspaces to set those up.

We've now earned ourselves a mental model where we can think about our monorepo graphically because we created clearly defined boundaries. We can think of our repository with a "direction", working from the bottom of our dependency tree (configurations) all the way up to the top (applications).
If you're learning this for the first time...
These ideas may sound a little abstract - but that's okay! For the rest of this reference, we will be more hands-on with some code and see how these concepts work in action.
Let's now take a look at setting the scene for your repository in your repository's root.